Design Innovation: Read to the end to win!

Innovation in the design world is a tall order that often isn’t rewarded by the majority straight away.

Why is this? Well, in short, with a sheep-like character, people don’t often like what is new and different right away. We like what we see often and what we see other people liking.


Take design periods for example, the Renaissance period was one fuelled by the desire for change and the need for ‘rebirth’.  Filippo Brunelleschi was one of the founding innovators of this period and it lasted three centuries, spreading all over Europe. When Filippo started this design movement, he wouldn’t have been around long enough to see the true impact it had on the world of design. How sad that the wheel of design moves so slowly and yet currently, it’s hard to keep up with the changing trends. If that isn’t a contradiction…


I often wonder where design will go next? What is going to be the next big idea, design changing moment? To be honest, if you look very carefully, design styles like fashion, seem to rather get blended together rather than renewed. Now I am not saying this about all designers around the globe, we have some incredible free thinkers that are pushing boundaries but, will they get to see their ideas and work appreciated to the full?

I don’t have the answer, but what I can say is that the majority of people, that designers are working for, are only looking through a few design lenses.


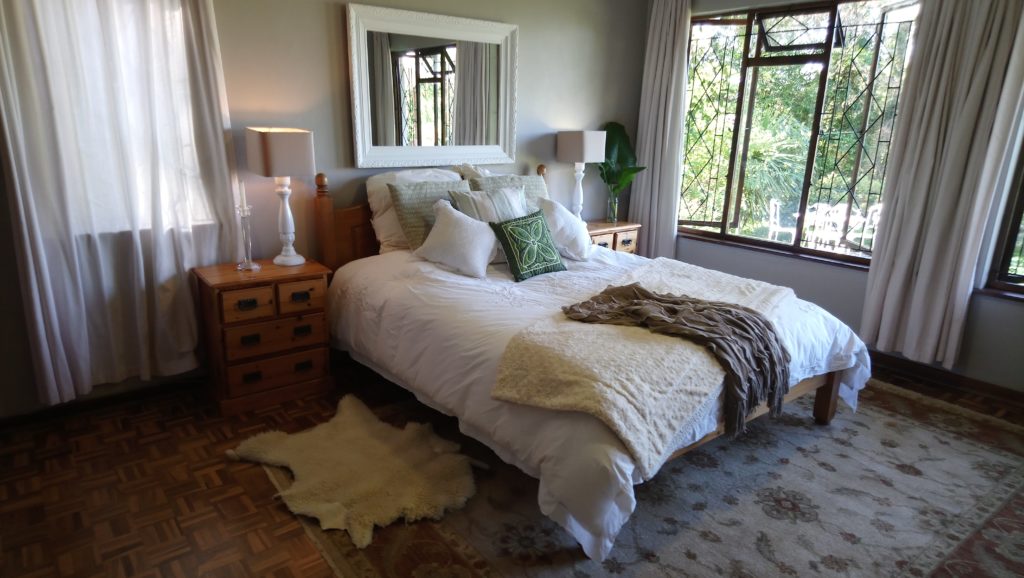
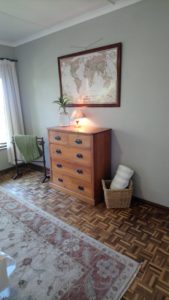
At the end of the day, everyone what’s to return home to a space that ticks all the boxes. We want to be able to relax, have ‘spa retreat’ bathrooms, have space for fun, cooking and entertaining. We all have design styles that appeal to us and that we are naturally draw towards, I am no exception.

As much as I LOVE Pinterest, I do feel that it is putting everyone in a box, a Pinterest box. It almost brainwashes you into believing that is how your home should look. This is false, always add some of yourself and the elements that make you who YOU are into your home. This is what home is, it’s YOUR space.

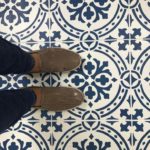
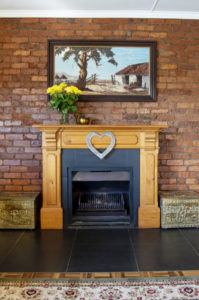
Below is a great picture of interior design throughout history, just something interesting. But for the people who aren’t design crazy like myself, I might of lost you by now…

If you are still reading, firstly, well done! Secondly, I would like to try out a new idea for my business on you.

I would like to start an online consult service. Ok, I know it sounds crazy but hang in there..

The people who this service is aimed for:

  • Work long hours and busy weekend
  • Crazy run around mom who NEVER have has enough time
  • Lives in the bush

My home consult would be an hour to hour and a half chat to discuss your home and the spaces you what updated. I then jot down my ideas and send them to you via email with example pics so we all on the same design page.

Now, what if you meet the top criteria and having me around for a consult is tricky? We live in a digital age, why not send me pictures and a video of your space and I will consult you over email and phone if needed. I know this takes the personal, one to one touch out of the design process but I would like to give it a try and see how it flairs.

This is where it gets fun.. The first person to get in touch with me via phone, Facebook or email, will get their online consult FOR FREE! (Apologies to family, you already get design advice for free ;)) This is for a single space and I will help you change that space into what you have wanted it to be for oh so long! Let’s think outside the box and have fun, if we can’t have fun in our own homes, where can we?


Honey, I painted the couch….

There are times I feel for my husband, I think he goes to work and doesn’t know what might be waiting for him when he gets back home. That said, I painted our couch….

We got a couch from my gran when she moved house, a pretty couch that she had bought on auction. The couch has moved around our home while we tried to find ‘that’ spot for it. With it’s heavy floral upholstery, it didn’t seem to work in many spaces and therefore we landed up covering it in a cream throw for a very long time. With renovating, we don’t have the spare cash to reupholster the couch at this moment.

When we added on our veranda extension, I painted the walls a deep green and our wicker chairs a dark blue, with the couch on the veranda, all of the colours matched perfectly. This put my decision to paint the couch on hold for quite a while.

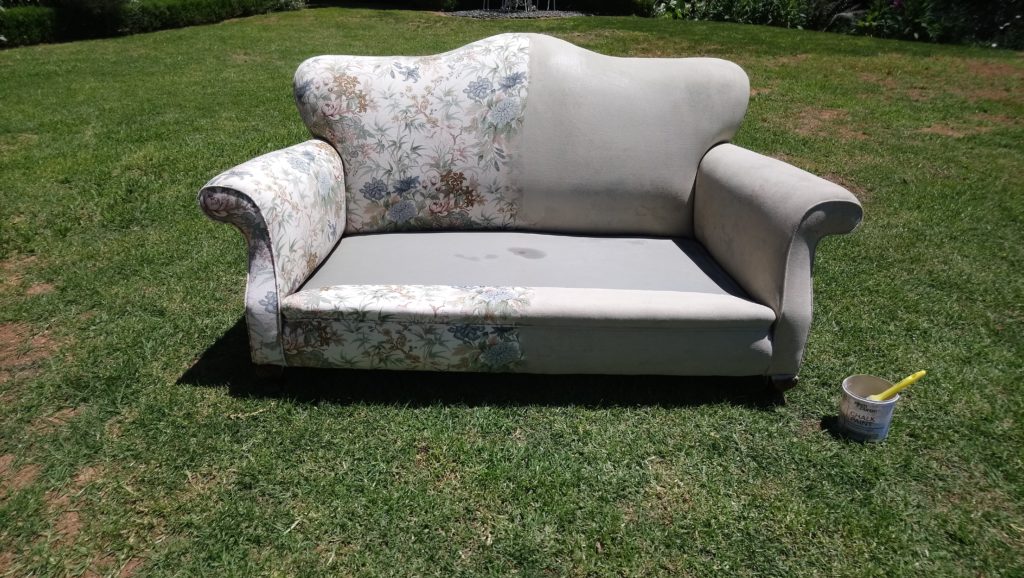
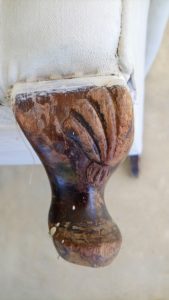
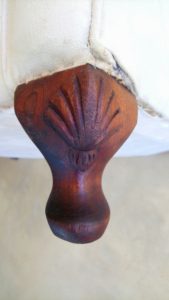
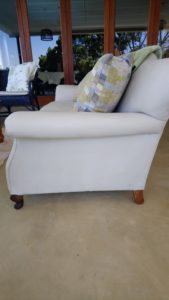
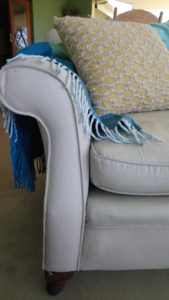
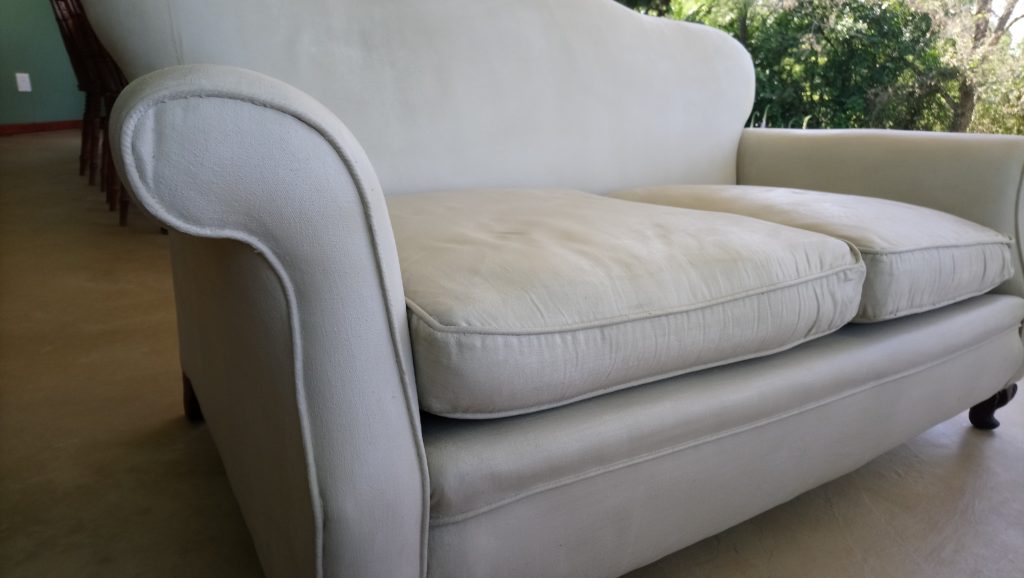
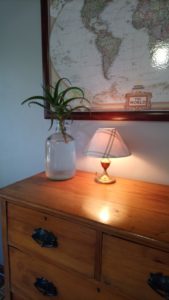
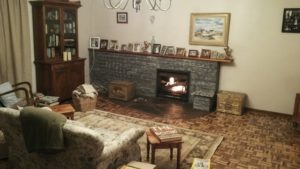
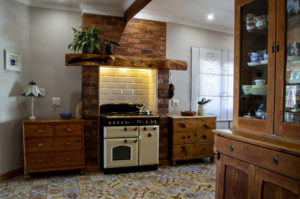
 The couch, mixing well with the wall and wicker chair colours

I have absolutely nothing wrong with florals, I love them in the right space, but I wanted a more versatile coloured couch that I could dress up with cushions and throws. Therefor, the painting option was researched and I decided to go with a chalk paint colour called Provence Grey, which by the way, isn’t grey.

I watered the paint down quite a bit as to not let the paint clump in the fabric but rather sink in.

Please note that the fabrics condition is 100% , there is no aging and thinning in the fabric. Painting fabric will not help in this area.  I painted the couch as a way to update the look of the couch.

I painted three coats on the couch itself as well as the cushions. I also sanded and oiled the legs as they definitely needed some TLC.

Once all the coats of paint were dry, I waxed the couch. This I thought was going to be a nightmare, but it was surprisingly easy with fantastic results.

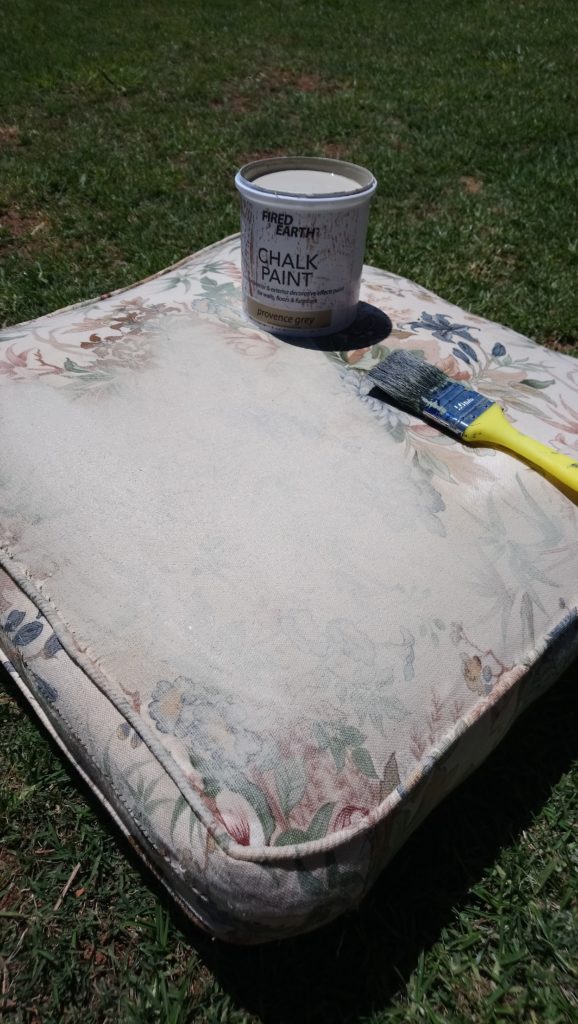
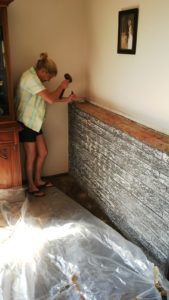
 Remember to let the wax dry before you polish, the paint will return to its ‘dry’ colour when the wax is dry.

The end result is amazing! It looks and feels like leather and best of all its waterproof. Being on a veranda in Hilton, the mist sometimes makes our outdoor furniture damp, now we won’t have a soggy couch, yay!

Final pictures:

Home Staging – An asset to selling your home!

The more people I talk to about home staging the more blank looks I get!

Come on special South Africans, the property market is flooded with hundreds of choices for any buyer and you are letting yourselves down by marketing an unstaged home. Now I know that might seem like a rough way to start this blog post, but hopefully it got your attention.

If you are selling your home or considering putting your home in the running to be sold, let me shed some light on home staging and how it would add countless value to your home and your wallet by the time the hammer drops.


Home staging – To make your property as appealing as possible to as many people as possible.  Never used as a tool to hide or disguise damage or imperfections in the home.

If you do a google search on home staging South Africa, you will be able to read many articles raving about the advantages of home staging and many warning you against it. Personally, I think it comes down to the person you hire. Like with any trade, the person makes the business and produces the results, or doesn’t.

Home staging for me is a simple way to add that edge to your home while it is on display to the market. I thought I would give myself a little challenge to stage our bedroom at home, within an hour (our son was having his pm nap), only using decor items from other parts in our home. Our bedroom hasn’t had any attention paid to it since we moved in three years again as we are wanting to renovate and don’t want to spend money in the meantime. That, being said, I am not proud of the before photos below…


To transform our main bedroom into somewhere any buyer would like to take a nap and call their bedroom, I decided to get rid of as much red as possible and replace it with neutrals and greens. The bedside lamps also needed attention as one was not working and the other had no lampshade. As I have said before, I am not proud of this..

Besides me buying new lampshades, this styling really did only take me an hour even with spray painting the lamp stands white. 😉


I’m not sure about you, but I know which bedroom I prefer! Home staging is a wonderful way to bring out the best of your home, declutter, clean and add some sparkle. Even if I never have the privilege of staging your home, I hope this blog has shown you how simple a transformation can be and always add the extra cushion! 😉

Renovating small spaces

Small spaces can have a huge impact, you can fool the eye into believing the space has increased in size or you can embrace the small, cozy feel in the room.

For our half bathroom, we needed to add a small basin and desperately needed to give it a face-lift and add some character.

Our home had been rented out for many, many years before we purchased it and seemed to be white-washed in boring.

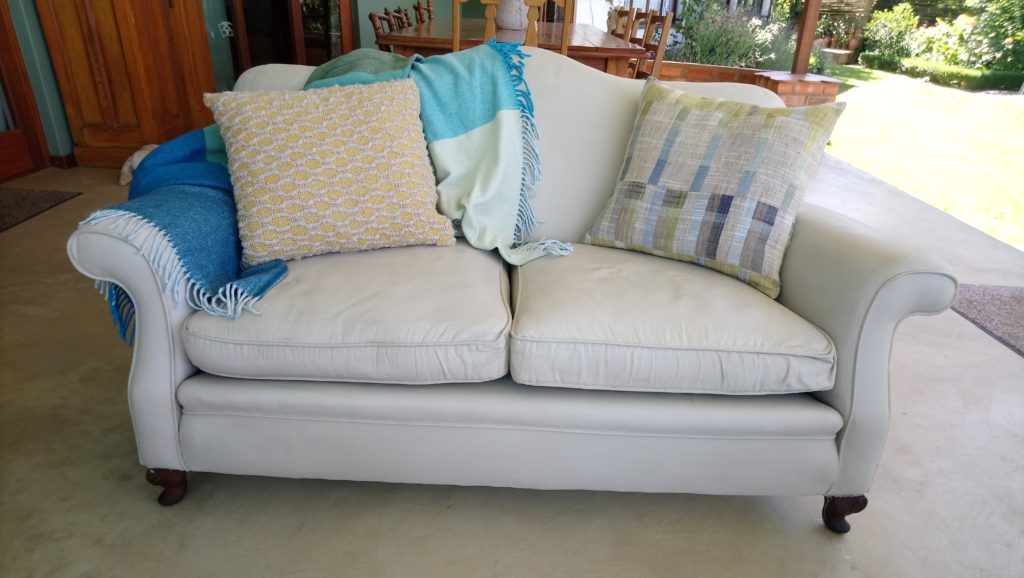
 Our half bathroom before any work took place
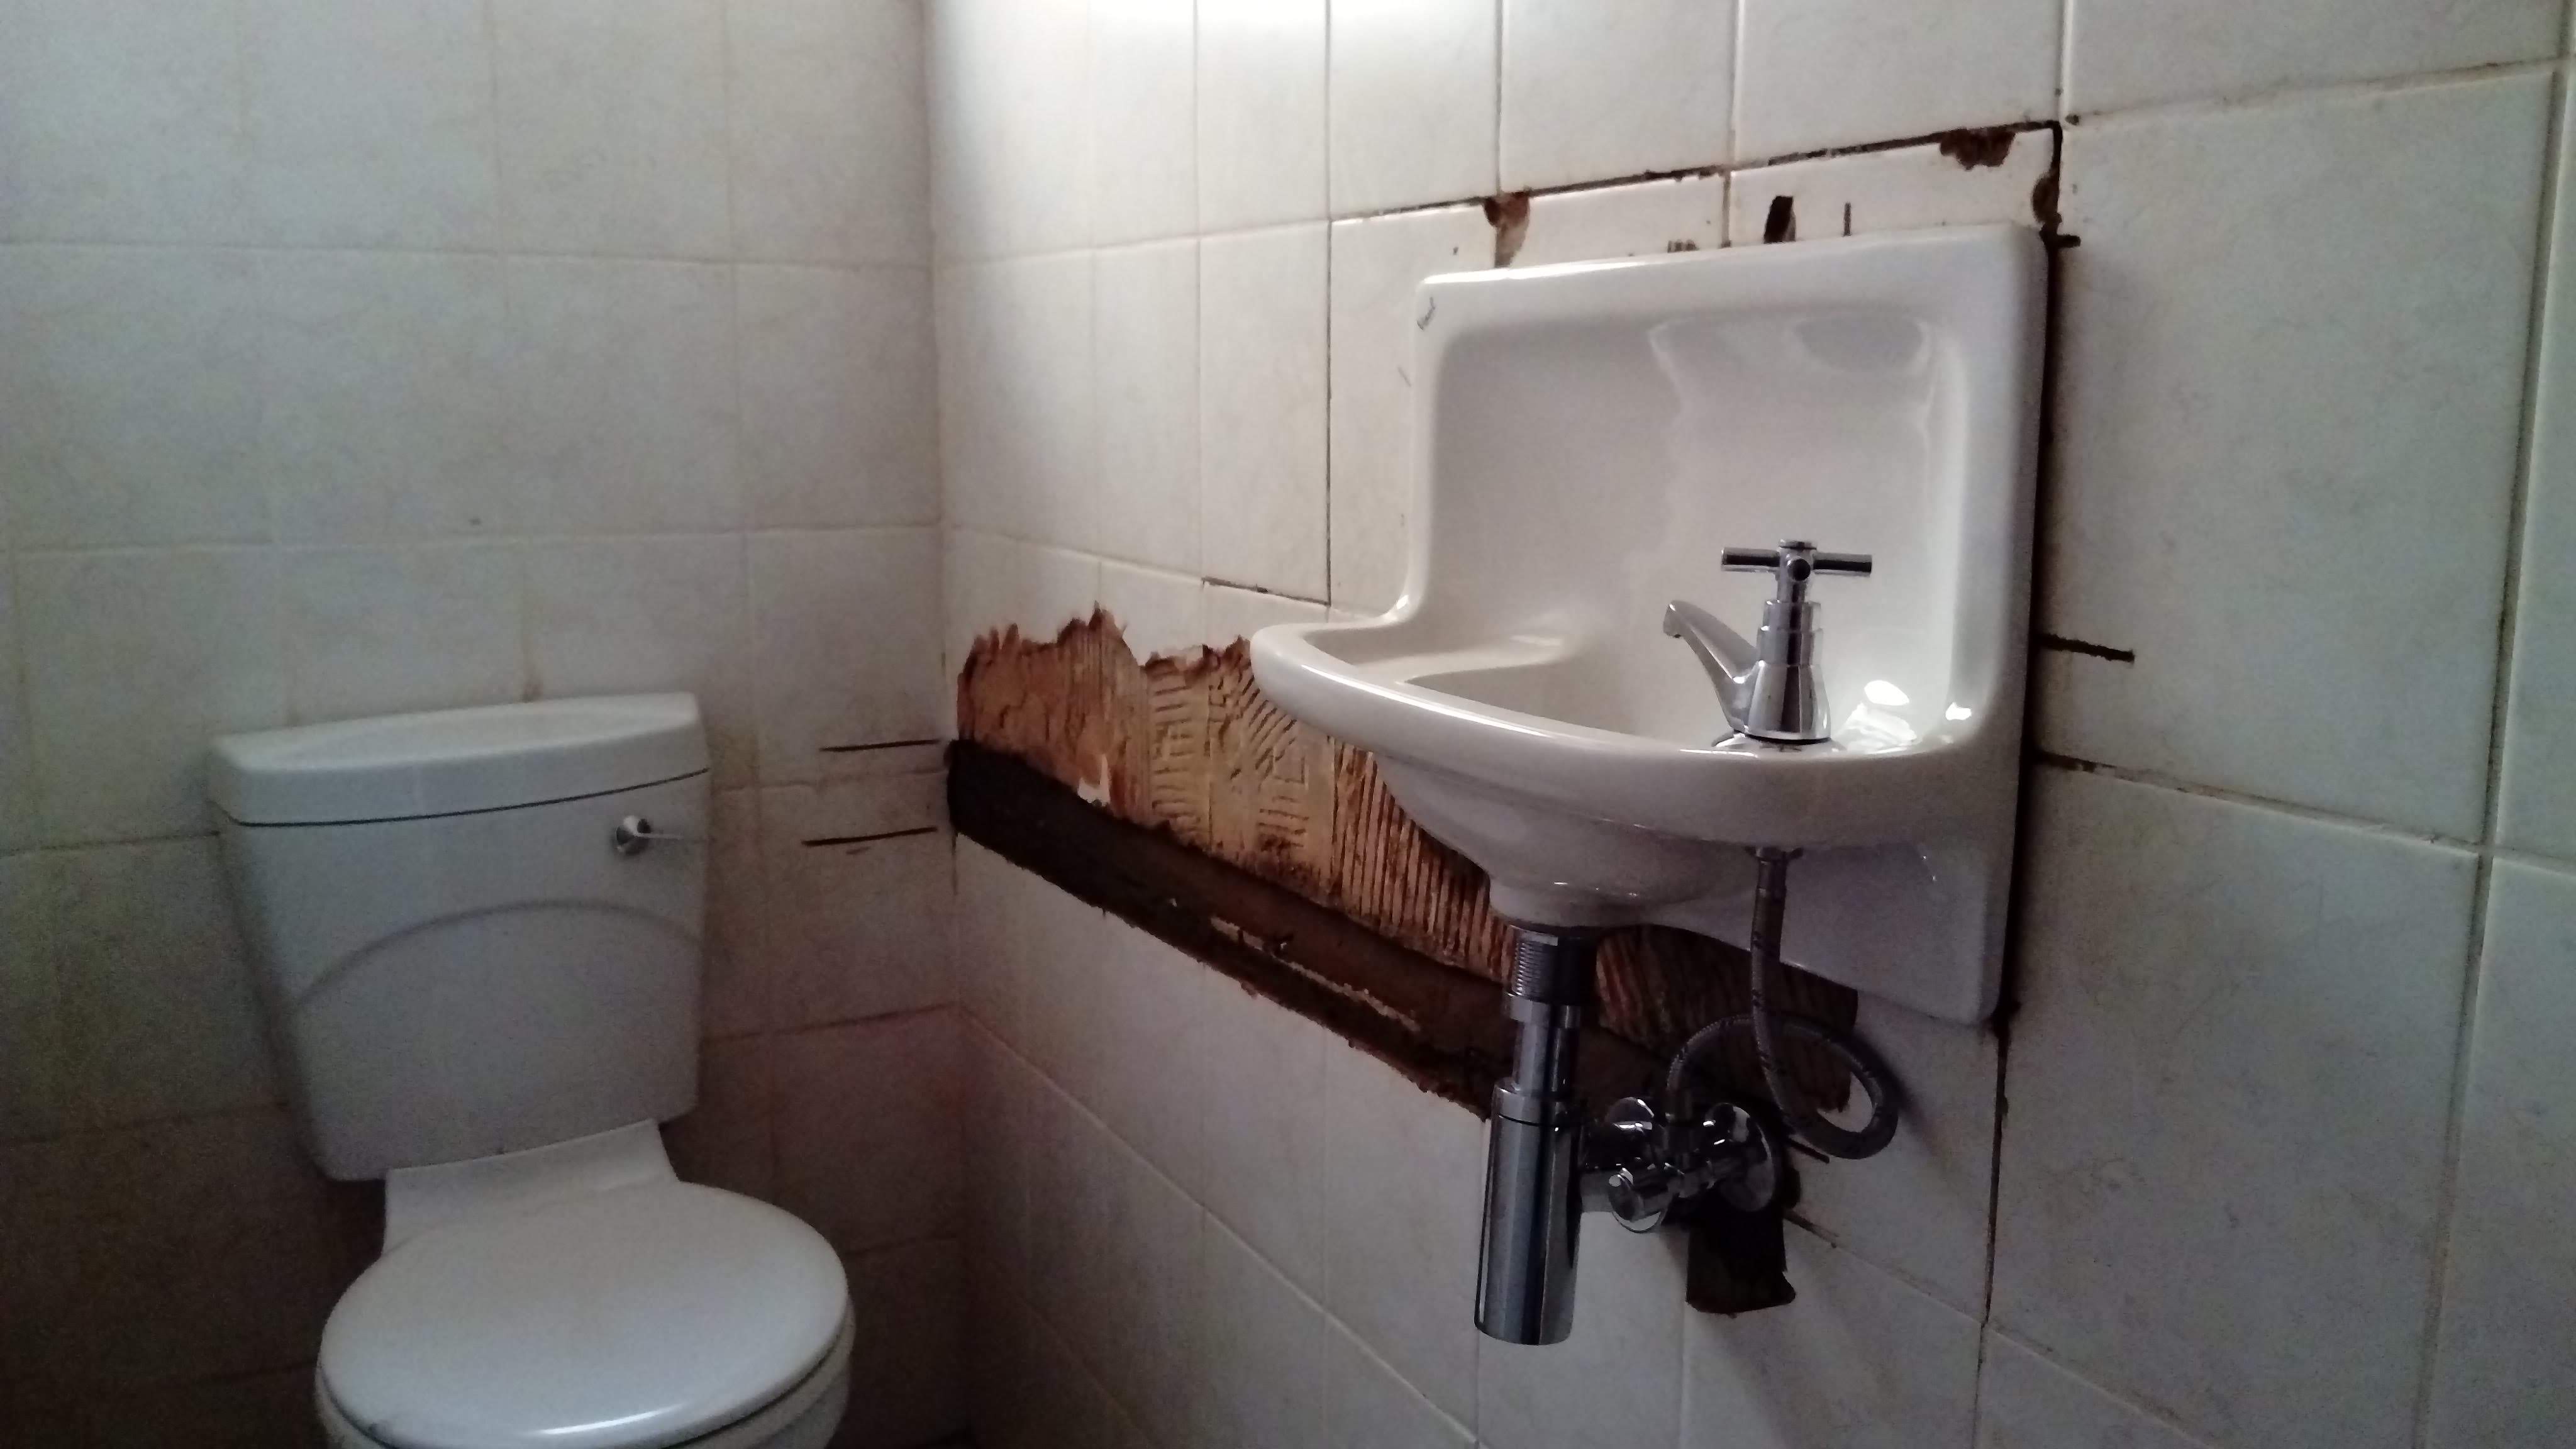
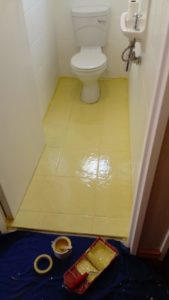
For this bathroom, as I have said, it needed a small basin so you didn’t need to go to the other bathroom to wash your hands. I didn’t want to damage the existing tiles as they are in great condition and I was going to pick the cheaper option of painting over them.

We installed a cute little, half in/ half out, wall basin to save on the limited space we have.

We have been fortunate that the kitchen was tiled in the exact same tile and we managed to save a lot of them when we gutted the kitchen. So patching the damaged tiles was quick and easy.

Then the fun part started! I picked a stencil pattern from my faithful friend, Pinterest, and asked Palette in PMB to cut the design. Palette are amazing and have a range of stencils of different sizes for sale off the shelf. I needed a specific size to match our floor tile size. Below was my Pinterest inspiration pic..

So to make this happen, I made a quick stop to my trusted friends at NAA, Natal Associated Agencies. They gave me the correct paint for the floor as I was going to be painting over hard ceramic tiles, which are not porus and therefore, most paints will not adhere to the tiles. I landed up bringing home a base coat, dark blue bottom coat, off-white coat for the pattern and clear gloss top coat. That’s a lot of painting, especially when each coat needs a day to dry as the paint is polyurethane based. I need to also point out that I painted the walls as well. For this I just used tile and melamine primer paint and then white bathroom and kitchen paint. This, alone made a massive difference to the bathroom!

  Undercoat done

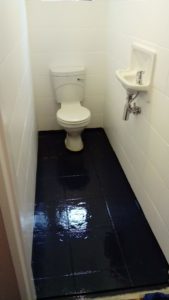
 Dark blue, base coat finished

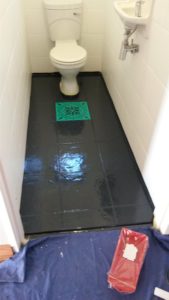
 Starting to stencil..
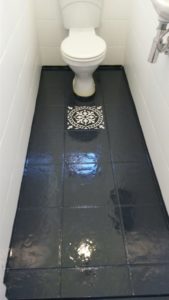
 First one done

Because the paint was so thick and I couldn’t wipe the stencil clean after each time, the stencil took a hammering and didn’t survive more than four tiles. A water based paint would work perfectly on a concrete floor with the stencil.

I had to improvise and make a pattern with masking tape for the edges. I am very happy with the end result. I also put in a floating shelf and updated all the bathroom fittings to bamboo.

The finishing touch was the oregon sash mirror I finally got round to finishing.


After
Before


Three Generations in the garden – Part 1

As much as interior design is my passion, outdoor spaces make my heart sing! Being privileged enough to live in South Africa and to call Hilton home, our garden grows like a weed in muck.

Soon after we moved into our new home, our existing retained wall at the back of our property, came crashing down in an impressive summer storm. After failing to get our claim through with our insurance, we decided to build our dream vegetable garden. After a few YouTube videos on how to brick lay, I got to work.

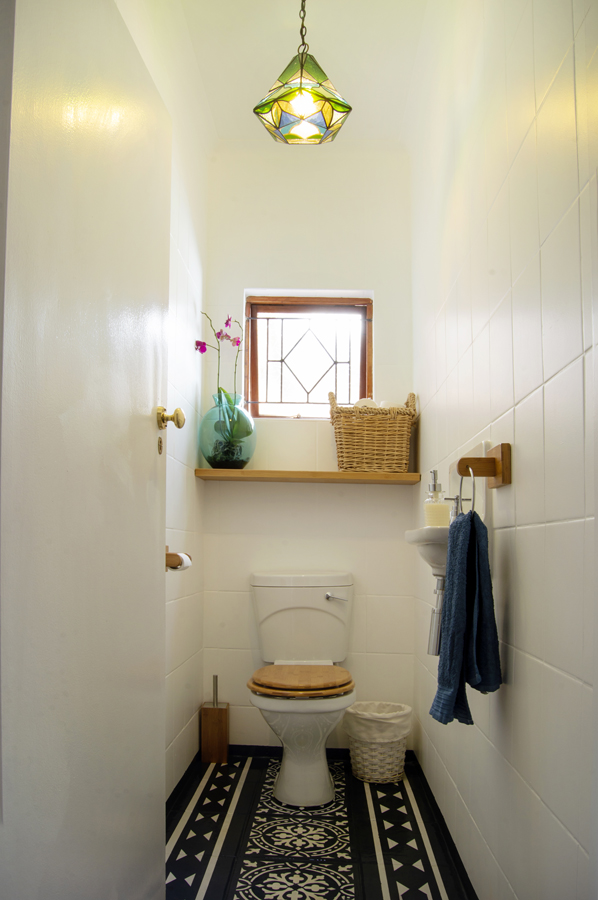
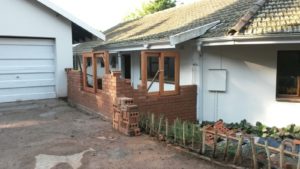
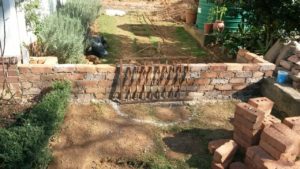
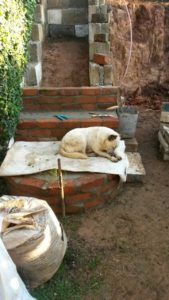
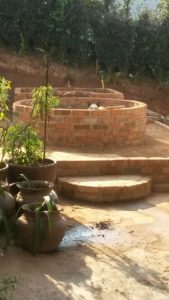
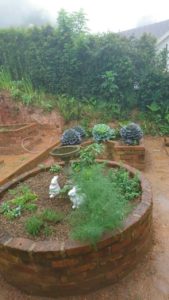
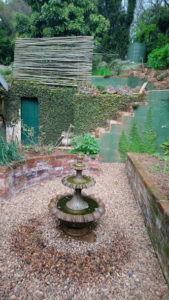
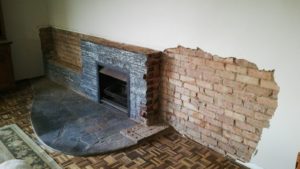
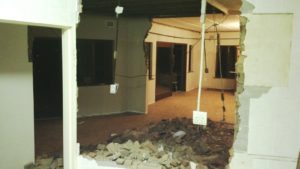
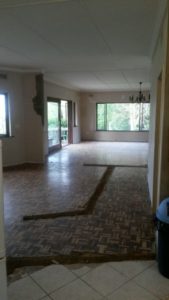
 The space before the retaining wall gave in

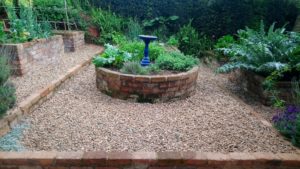
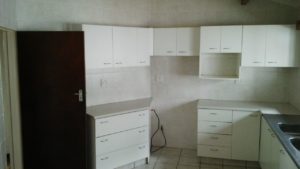
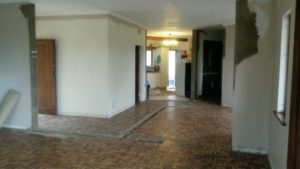
 Space on the left is what we worked on

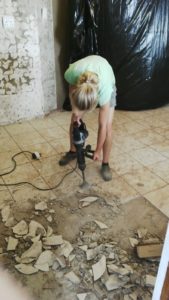
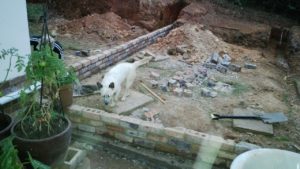
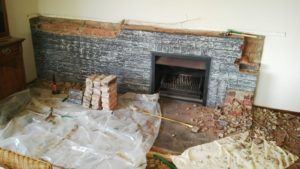
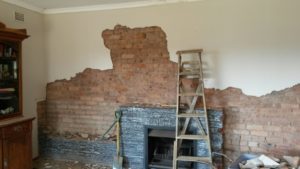
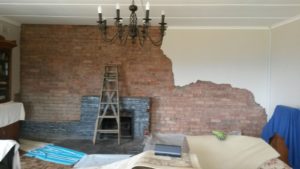
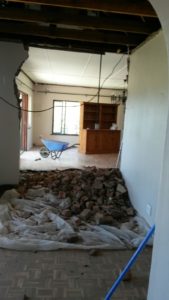
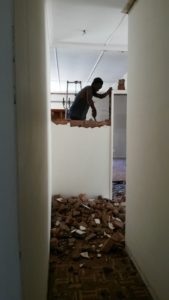
 Mess and more mess..

We tiered the area into three platforms and after building the small retaining walls, chalked out the design.

We build some stairs so we could move the washing line to above our garden shed. The stairs were reinforced to act as a buttress wall for the remaining original walls. (Lucy is my inspector!)


Coming together, from day one to completion took me nine months. It was back breaking work that I am continually rewarded for.


So our dream vegetable garden is complete and flourishing. An outdoor paradise that produces food!


Three Generations at Home – Part 2

Part two will be some of the ‘pretty’ things we did while the messy stuff happened. Living in a demolition zone for a few months is not fun, but the end results are always worth the dust and frustration along the way.

When we moved in, our existing fireplace in our lounge was a very unattractive sixties, grey washed brick, slasto, curved design. Picture below…

It was actually the first item my husband and I took a hammer too. This was extremely satisfying and even though many blisters forms, well worth the effort.

When we started pulling the bricks away from the wall, we realised that the bricks under the plaster, were a beautiful thing in their own right. And so, we kept going and pulled ALL the plaster off the main wall in the lounge as well.

And what a stunning final result! We scrubbed the wall to clean the bricks and then sealed with a brick sealant, sheen finish. An oregon pine fireplace surround was added that we picked up on auction, the parquet was squared off and black tiles were set to finish off the picture.

This exposed brick wall has brought so much warmth into our lounge. It was not something we had planned on in the beginning, but definitely a welcome surprise.

Three Generations at Home – Part 1

As we have done quite a few extensive renovations since we moved into our home in 2015, I will break it up in parts.

No-one likes before and after pictures more than I do, so I hope you enjoy going through the work we have done thus far.

I will start with the internal alterations we did which included, removing all the walls between our kitchen, dinning room and lounge. When we bought our house, these were all separate spaces.

Below are some pictures of our kitchen before we removed a wall to create an open plan kitchen, dinning room and extend the kitchen to join onto our existing double garage.

View from dinning room arch way. The wall you see on the left, was removed

Same view from the same spot as above picture (After)

Previously, our back door

.

This wall with the sink, was pushed out to create our breakfast nook

Wall on the left was removed to open the kitchen up to the dinning area

After picture of the same wall as above

Below are some pictures of the exodus of the internal walls.


View from inside kitchen looking onto dinning room and the lounge


Two pictures on the right are taken from the lounge looking back towards the kitchen. The picture on the left is demolishing the passage wall between the lounge and dining room (Dinning room on the left, kitchen behind).

Below, you get a good feel for what the space will turn out to be now that’s its opened up. On the left, view from kitchen and right, looking back from the lounge into the kitchen. Bottom, starting to paint ceilings. The ditches in the floor are where the walls were.


And now what you have been waiting for…. After pictures of the walls removed!

View the day we moved in looking through dinning into lounge, kitchen on the right


Same after view with walls removed, kitchen on the right

Below are some pictures of the kitchen renovation process.

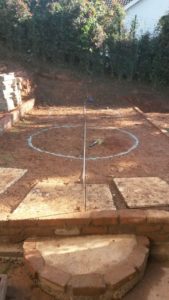
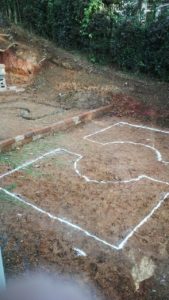
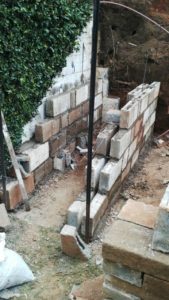
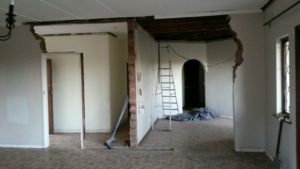
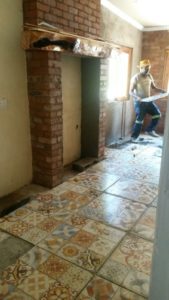
 Foundations for extension

I hope you enjoyed this quick overview of our kitchen, dinning and lounge conversion to open plan living. It changed our home completely and the way we live in it.

I look forward to hearing any comments you might have and please stick around, there is lots to come. 😉


Hi there and WELCOME!

As this is my first blog post and the opening to my world of design and crazy creativity, welcome! I am so excited to share experiences, lessons, do’s and don’ts with you and hopefully, ignite the fire of design within you as well.

Just a quick back round, I started my own interior design business earlier this year, Three Generations Interior Design, and it has been an exciting adventure. My husband and I have owned the house we call home for the past three years and have just finished phase 2 of 3 of our renovations. These are managed and run by myself, experience earned through doing is invaluable!

I am totally passionate about design; modern, classic or just out-there crazy; design is everywhere and shapes our homes, work, play and world. I look forward to you joining me and encourage comments on my designs, renovations and client projects that I will be able to post.

Welcome!