Three Generations in the garden – Part 1

As much as interior design is my passion, outdoor spaces make my heart sing! Being privileged enough to live in South Africa and to call Hilton home, our garden grows like a weed in muck.

Soon after we moved into our new home, our existing retained wall at the back of our property, came crashing down in an impressive summer storm. After failing to get our claim through with our insurance, we decided to build our dream vegetable garden. After a few YouTube videos on how to brick lay, I got to work.

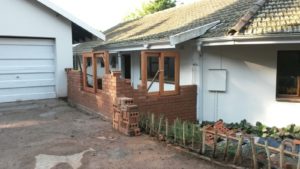
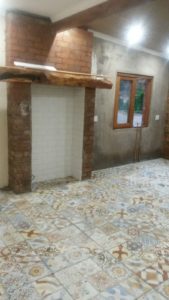
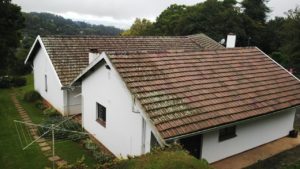
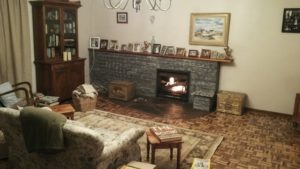
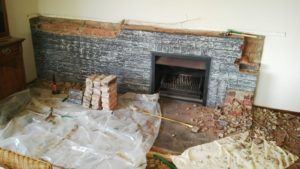
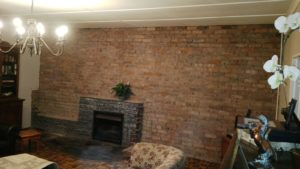
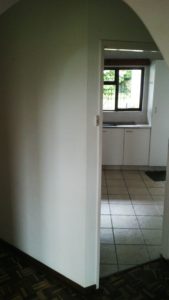
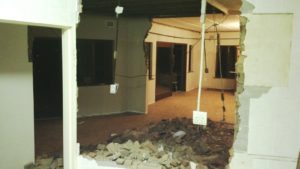
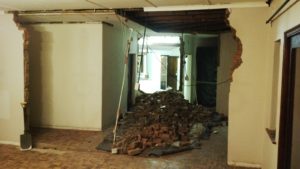
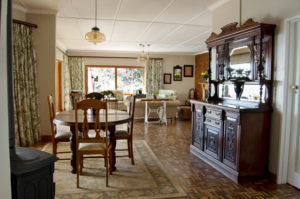
 The space before the retaining wall gave in

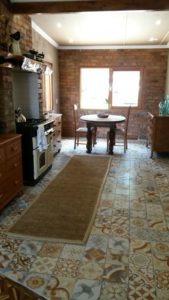
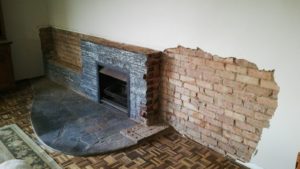
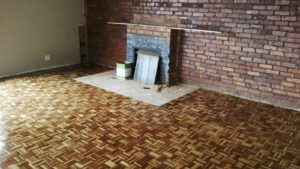
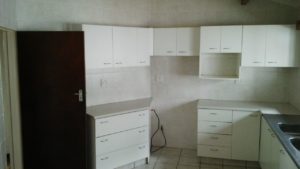
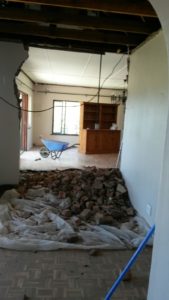
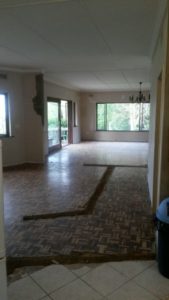
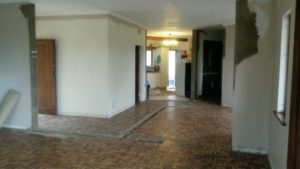
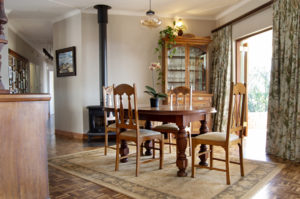
 Space on the left is what we worked on

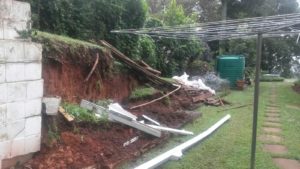
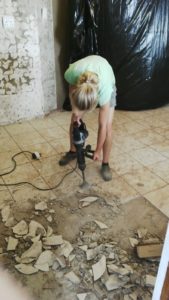
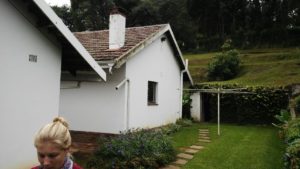
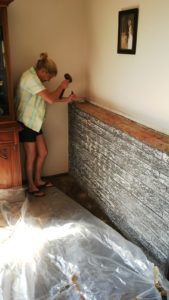
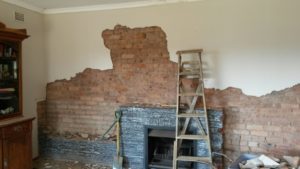
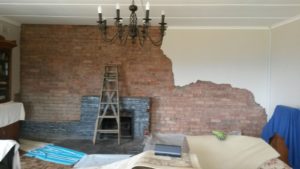
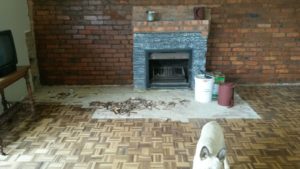
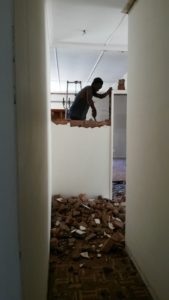
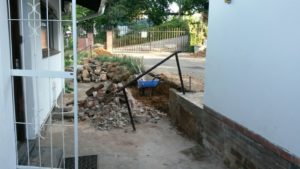
 Mess and more mess..

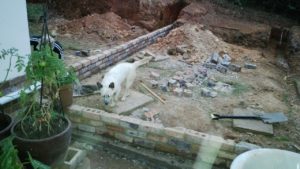
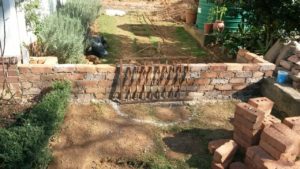
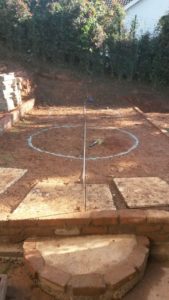
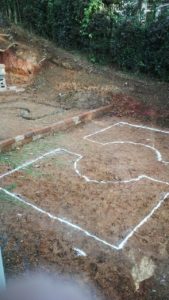
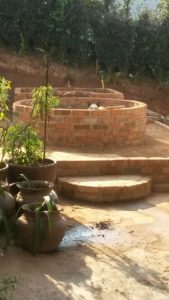
We tiered the area into three platforms and after building the small retaining walls, chalked out the design.

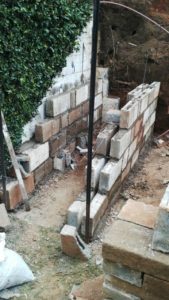
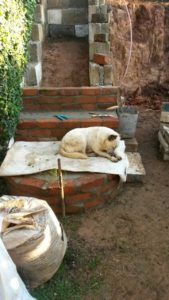
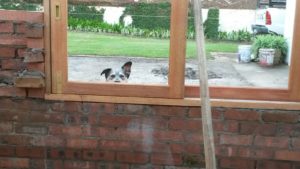
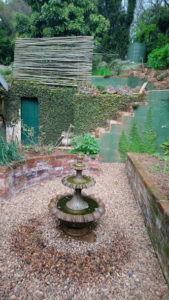
We build some stairs so we could move the washing line to above our garden shed. The stairs were reinforced to act as a buttress wall for the remaining original walls. (Lucy is my inspector!)


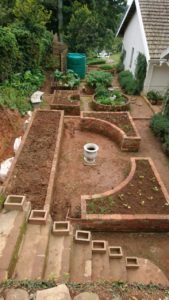
Coming together, from day one to completion took me nine months. It was back breaking work that I am continually rewarded for.


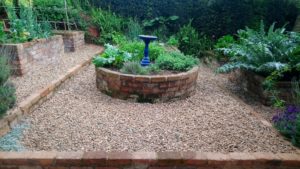
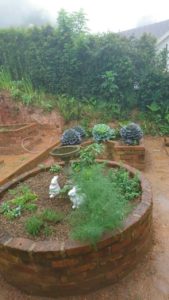
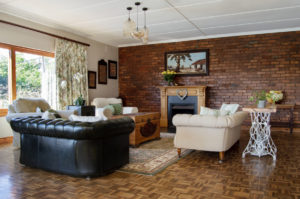
So our dream vegetable garden is complete and flourishing. An outdoor paradise that produces food!


Three Generations at Home – Part 2

Part two will be some of the ‘pretty’ things we did while the messy stuff happened. Living in a demolition zone for a few months is not fun, but the end results are always worth the dust and frustration along the way.

When we moved in, our existing fireplace in our lounge was a very unattractive sixties, grey washed brick, slasto, curved design. Picture below…

It was actually the first item my husband and I took a hammer too. This was extremely satisfying and even though many blisters forms, well worth the effort.

When we started pulling the bricks away from the wall, we realised that the bricks under the plaster, were a beautiful thing in their own right. And so, we kept going and pulled ALL the plaster off the main wall in the lounge as well.

And what a stunning final result! We scrubbed the wall to clean the bricks and then sealed with a brick sealant, sheen finish. An oregon pine fireplace surround was added that we picked up on auction, the parquet was squared off and black tiles were set to finish off the picture.

This exposed brick wall has brought so much warmth into our lounge. It was not something we had planned on in the beginning, but definitely a welcome surprise.

Three Generations at Home – Part 1

As we have done quite a few extensive renovations since we moved into our home in 2015, I will break it up in parts.

No-one likes before and after pictures more than I do, so I hope you enjoy going through the work we have done thus far.

I will start with the internal alterations we did which included, removing all the walls between our kitchen, dinning room and lounge. When we bought our house, these were all separate spaces.

Below are some pictures of our kitchen before we removed a wall to create an open plan kitchen, dinning room and extend the kitchen to join onto our existing double garage.

View from dinning room arch way. The wall you see on the left, was removed

Same view from the same spot as above picture (After)

Previously, our back door

.

This wall with the sink, was pushed out to create our breakfast nook

Wall on the left was removed to open the kitchen up to the dinning area

After picture of the same wall as above

Below are some pictures of the exodus of the internal walls.


View from inside kitchen looking onto dinning room and the lounge


Two pictures on the right are taken from the lounge looking back towards the kitchen. The picture on the left is demolishing the passage wall between the lounge and dining room (Dinning room on the left, kitchen behind).

Below, you get a good feel for what the space will turn out to be now that’s its opened up. On the left, view from kitchen and right, looking back from the lounge into the kitchen. Bottom, starting to paint ceilings. The ditches in the floor are where the walls were.


And now what you have been waiting for…. After pictures of the walls removed!

View the day we moved in looking through dinning into lounge, kitchen on the right


Same after view with walls removed, kitchen on the right

Below are some pictures of the kitchen renovation process.

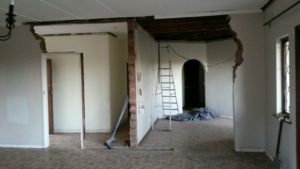
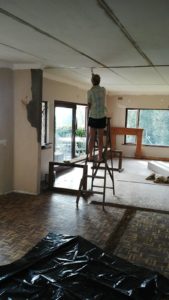
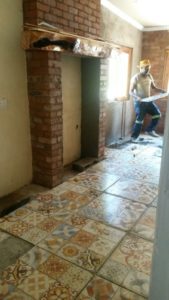
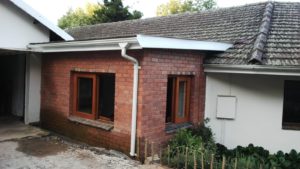
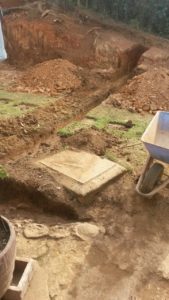
 Foundations for extension

I hope you enjoyed this quick overview of our kitchen, dinning and lounge conversion to open plan living. It changed our home completely and the way we live in it.

I look forward to hearing any comments you might have and please stick around, there is lots to come. 😉


Hi there and WELCOME!

As this is my first blog post and the opening to my world of design and crazy creativity, welcome! I am so excited to share experiences, lessons, do’s and don’ts with you and hopefully, ignite the fire of design within you as well.

Just a quick back round, I started my own interior design business earlier this year, Three Generations Interior Design, and it has been an exciting adventure. My husband and I have owned the house we call home for the past three years and have just finished phase 2 of 3 of our renovations. These are managed and run by myself, experience earned through doing is invaluable!

I am totally passionate about design; modern, classic or just out-there crazy; design is everywhere and shapes our homes, work, play and world. I look forward to you joining me and encourage comments on my designs, renovations and client projects that I will be able to post.

Welcome!